


Ever thought about crafting your own floor lamp base?
It's easier than you think and incredibly rewarding. Making your own lamp base not only saves money but adds a personal touch to your home decor.
This guide will show you how to create a stylish and sturdy lamp base from scratch. You'll learn everything from material selection to assembly and finishing.
Let's dive in and illuminate your space with your very own DIY floor lamp!
Materials and Tools Needed
Essential Materials for the Lamp Base
- Base material (wood, metal, or concrete)
- Lamp pipe or rod
- Lamp kit (includes socket, cord, and plug)
Recommended Tools for Easy Crafting
- Saw (jigsaw or handsaw for wood, hacksaw for metal)
- Drill with various bits
- Sandpaper or electric sander
- Screwdriver set
- Measuring tape
Safety Equipment to Have on Hand
- Safety goggles
- Gloves
- Dust mask
Designing Your Floor Lamp Base
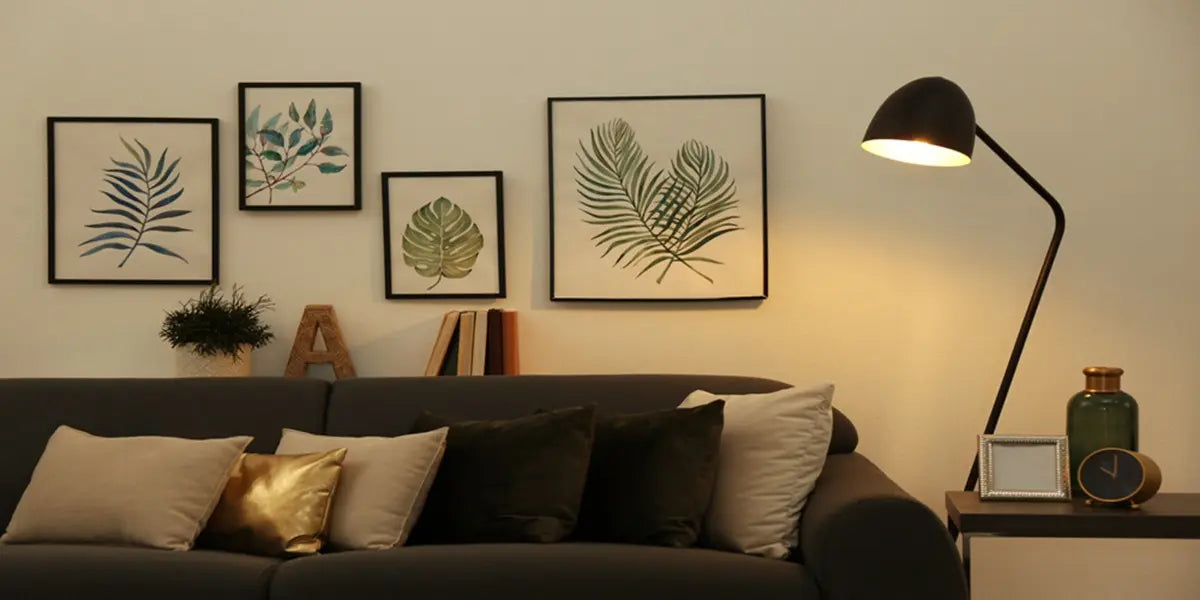
Choosing the Right Style for Your Space
- Consider Your Room's Decor: Match the lamp base to your existing decor. Modern, rustic, or classic, the style should complement your space.
- Material Selection: Choose materials that fit the style. Wood for a rustic look, metal for an industrial feel, or concrete for a modern touch.
- Color Coordination: Pick a color that blends well with your room. Neutral tones for versatility, or bold colors to make a statement.
Sketching Your Lamp Base Design
- Start with a Basic Outline: Draw a simple sketch of your lamp base. Focus on the shape and dimensions.
- Add Details: Include any decorative elements like carvings or paint patterns. This helps visualize the final product.
- Adjust as Needed: Refine your sketch until you're happy with the design. It's easier to make changes on paper than on the actual material.
Selecting the Ideal Height and Width
- Measure Your Space: Determine where the lamp will be placed. Measure the height and width available.
- Proportional Dimensions: Ensure the lamp base is proportional to the lamp height. A tall lamp needs a sturdy, wider base.
- Comfort and Functionality: The lamp should be at a comfortable height for reading or ambient lighting. Usually, between 55 to 65 inches tall.
Step-by-Step Guide to Crafting the Floor Lamp Base
Step 1: Preparing the Work Area
- Clear your workspace. Remove any clutter.
- Gather your tools and materials. Place them within easy reach.
- Put on safety gear. Wear goggles and gloves.
Step 2: Cutting and Shaping the Base Material
- Measure and mark your material. Use a pencil to draw cutting lines.
- Cut along the lines. Use a saw appropriate for your material. For wood, a jigsaw or handsaw works well. For metal, use a hacksaw.
- Smooth the edges. Sandpaper or an electric sander will do the trick.
Step 3: Assembling the Base Structure
- Lay out all your pieces. Make sure everything fits together as planned. This is your last chance to make adjustments before assembly.
- Drill pilot holes. These prevent the material from splitting when you screw or bolt the pieces together.
- Join the pieces. Use screws, bolts, or adhesive. Ensure everything is tight and secure.
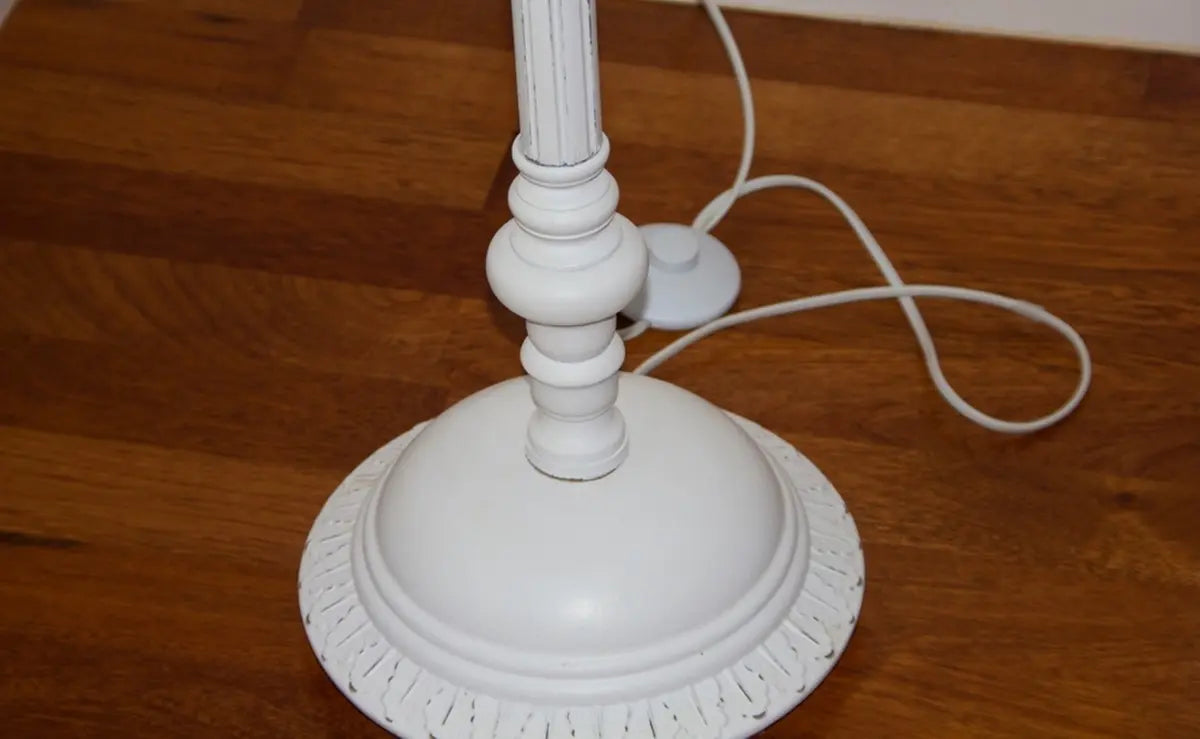
Step 4: Securing the Lamp Post to the Base
- Position the lamp post on the base. Center it and mark the points where it will be attached.
- Drill attachment holes. Make sure these are aligned perfectly.
- Attach the lamp post. Use screws or bolts to secure it. Check for stability and make adjustments if needed.
Finishing Touches
Sanding and Smoothing the Surface
- Start with coarse-grit sandpaper. This removes rough spots quickly. Move to finer grits for a smooth finish.
- Wipe away dust with a damp cloth. This ensures a clean surface. Your finish will adhere better.
- Feel the surface with your hand. Check for any remaining rough areas. Sand those spots again if needed.
Applying Paint, Stain, or Varnish
- Choose your finish. Paint for a bold look, stain for a natural feel, or varnish for protection.
- Apply a primer if painting. This helps the paint adhere. Let it dry completely.
- Brush on your chosen finish. Use long, even strokes. Let each coat dry before adding another.
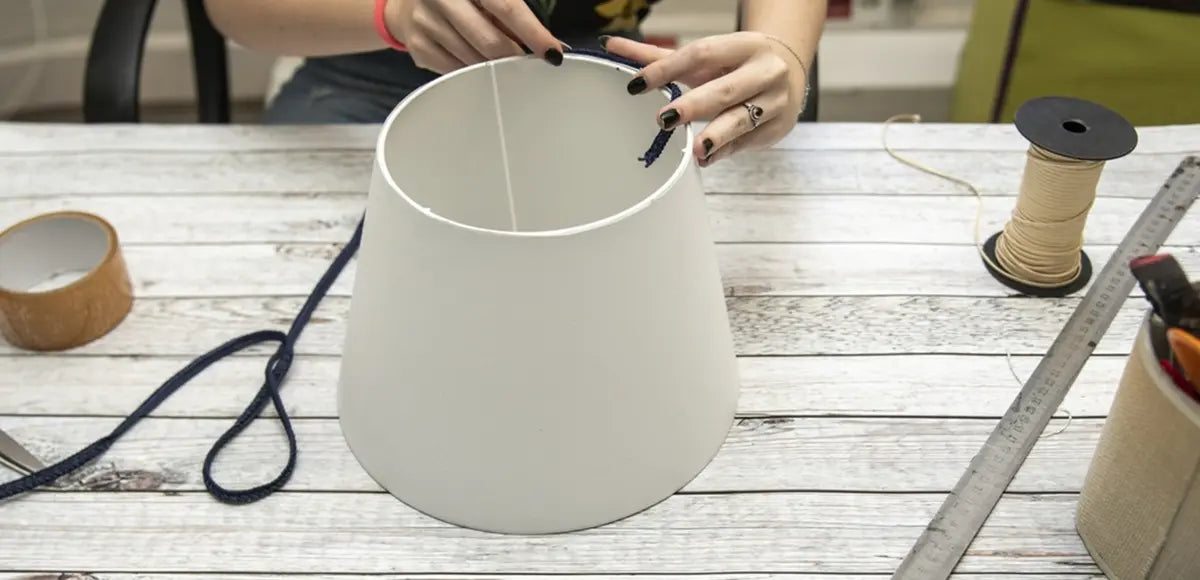
Adding Decorative Elements
- Consider adding trim or molding. This can enhance the look. Glue or nail these pieces in place.
- Think about adding metal accents. Use brackets or screws for an industrial feel.
- Personalize with decals or stencils. Add patterns or designs.
Wiring and Electrical Safety
Choosing the Right Lamp Kit
- Pick a lamp kit that matches your lamp's style. Kits usually include a socket, cord, and plug.
- Check the voltage rating. Ensure it's compatible with your local power supply.
- Look for quality components. Cheap kits may not last.
Step-by-Step Wiring Instructions
Step 1: Unpack the Lamp Kit
Lay out all components. Read the instructions carefully.
Step 2: Attach the Socket
Connect the socket to the lamp pipe. Secure it tightly.
Step 3: Thread the Cord
Run the cord through the lamp pipe. Leave enough length for the plug.
Step 4: Wire the Socket
Strip the cord ends. Attach them to the socket terminals. Follow the kit instructions closely.
Step 5: Secure the Plug
Attach the plug to the other end of the cord.
Ensuring Electrical Safety and Code Compliance
- Use a voltage tester. Check all connections before plugging in.
- Double-check for exposed wires. Cover them with electrical tape.
- Know your local electrical codes. Make sure your wiring complies.
Testing and Troubleshooting
Initial Power-Up and Functionality Check
- Plug in the lamp. Turn it on. Check if the light works.
- Observe the lamp. Look for flickering or dimming.
- Listen for any unusual sounds. A hum or buzz indicates a problem. If everything looks and sounds good, move to the next step.
Common Issues and How to Fix Them
Issue 1: Light Doesn't Turn On
- Check the plug connection. Make sure it's secure.
- Test the bulb. It might be faulty. Replace it with a new one.
Issue 2: Flickering Light
- Tighten the bulb. Loose bulbs can cause flickering.
- Inspect the wiring. Ensure all connections are firm.
Issue 3: Buzzing Sound
- Check the socket. It might need tightening.
- Ensure the bulb is compatible with your socket. Mismatched components can buzz.
Final Adjustments and Testing
- Adjust the lamp height if needed. Ensure it's at a comfortable level.
- Re-check all screws and bolts. Tighten any that are loose.
- Test the lamp in its intended spot. Ensure it illuminates the area well. Make final tweaks to positioning and angle.
Before You Go
Congratulations on crafting your own floor lamp base! We'd love to see your creations. Share photos and stories of your DIY projects with us. Your creativity can inspire others.
If you're hungry for more DIY tips, we've got you covered. Check out our DIY floor lamp guide for more fantastic ideas and detailed instructions.
Further Reading
How to Rewire a Floor Lamp: A Step-by-Step Simplified Guide


Leave a comment
All comments are moderated before being published.
This site is protected by hCaptcha and the hCaptcha Privacy Policy and Terms of Service apply.